Create a flow
In this guide, you'll create a simple flow that:
- Receives a customer's name and email address.
- Sends a welcome email.
- Completes the process.
By the end of this tutorial, you'll have a tested and published flow ready to receive real data.
Before you start
Make sure you have:
- A Flowize account with permission to create and edit flows.
- An existing project, or permission to create one.
- An email app installed and configured in your project.
Step 1: Define your data
Before creating a flow, decide what information it needs.
For this example, we'll collect:
- Customer name
- Customer email address
The data structure looks like this:
{
  "name": "",
  "email": ""
}
Once the data enters Flowize, you can access it using variables:
@data.name@@data.email@
Defining your data structure first makes it easier to configure interfaces, apps, and variables later.
Step 2: Create an interface
A flow needs a way to receive data. One of the simplest options is to use an interface.
Create a new interface called Email Sender and configure it to receive the same structure defined above.
{
  "name": "",
  "email": ""
}
For detailed instructions, see:
Step 3: Create a new flow
- Open your project.
- Select Flows from the navigation menu.
- Click New Flow.
A newly created flow opens with a grid-based canvas containing two default nodes:
- START – the mandatory entry point of the flow. This node is automatically created and cannot be removed.
- END – the default termination point of the flow. This node can be repositioned or removed if your workflow requires a different structure.
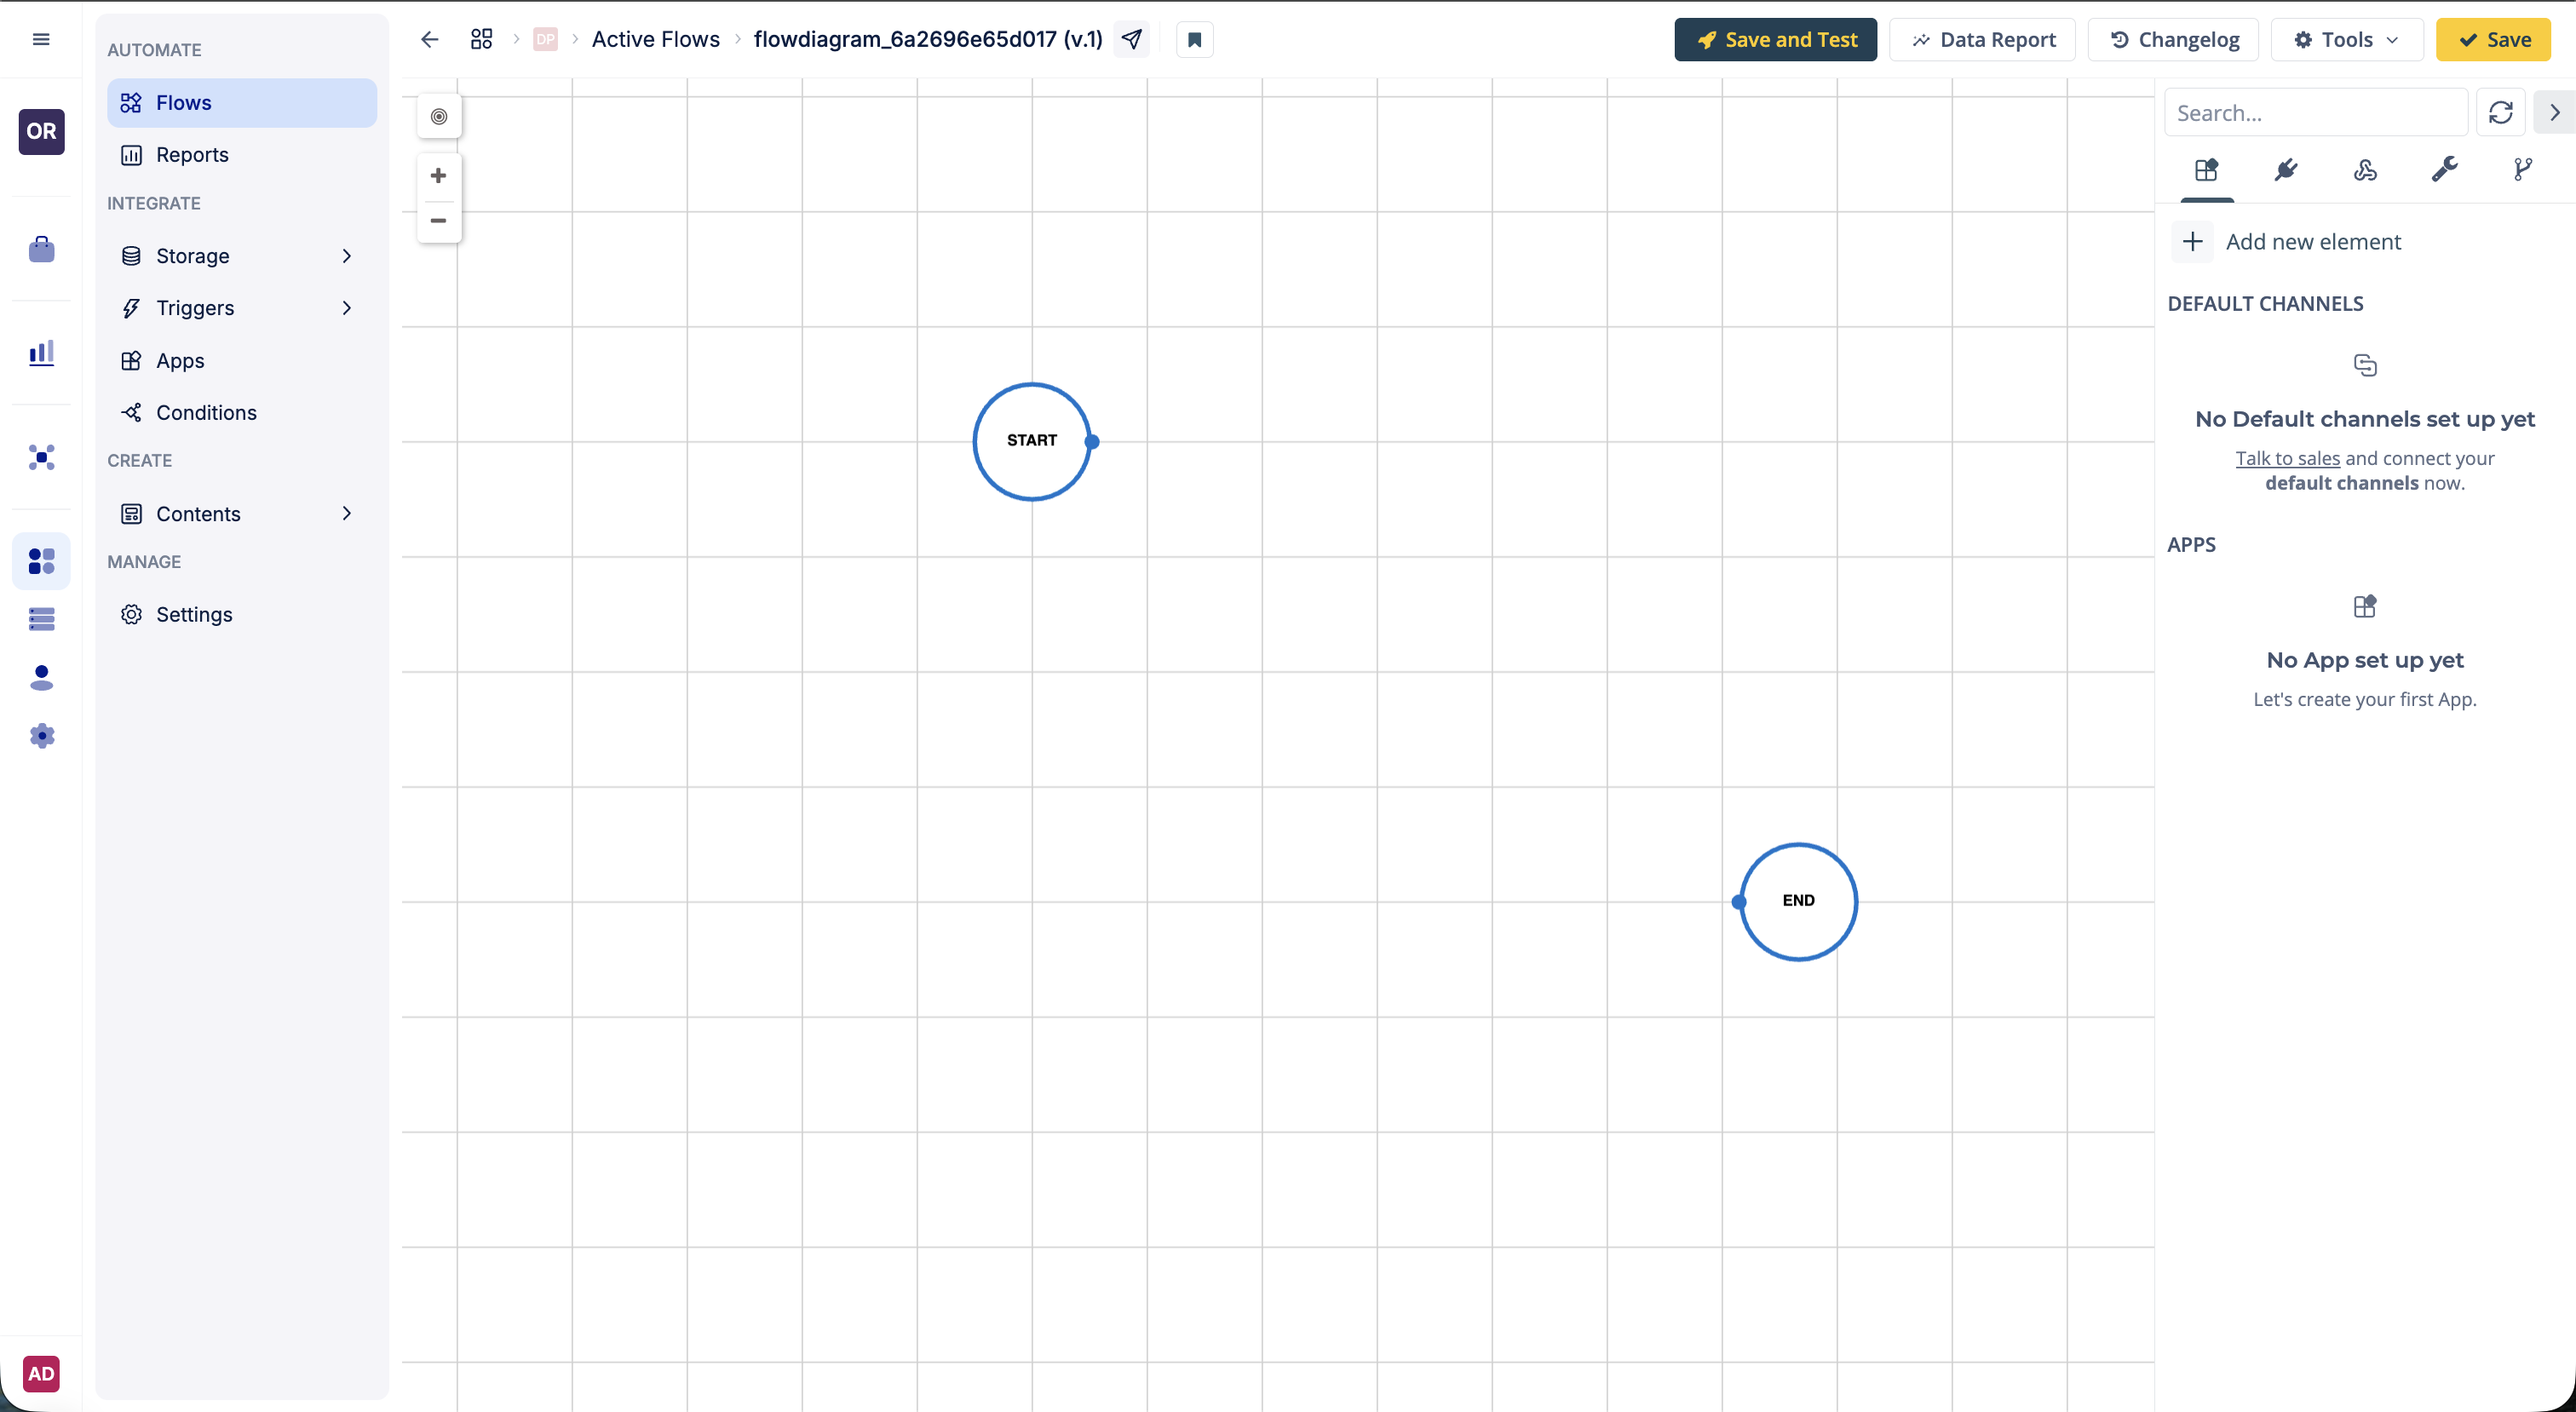
Every new flow starts in Draft status. While a flow is in Draft, you can freely add, remove, and configure objects.
Step 4: Add an object
Now add the action that performs the work.
- Search for the app in the object palette.
- Drag Send a Report Email onto the canvas.
- Connect the Start object to the email object.
Next, configure the email action.
Example configuration:
| Field | Value |
|---|---|
| To | @interface.welcome_user.email@ |
| Subject | Welcome to our service |
| Body | Hello @interface.welcome_user.name@, Welcome to our service. |
If your project uses email templates or content assets, you can use those instead of a plain text message.
Step 5: Connect the end point
Connect the email app to the End object.
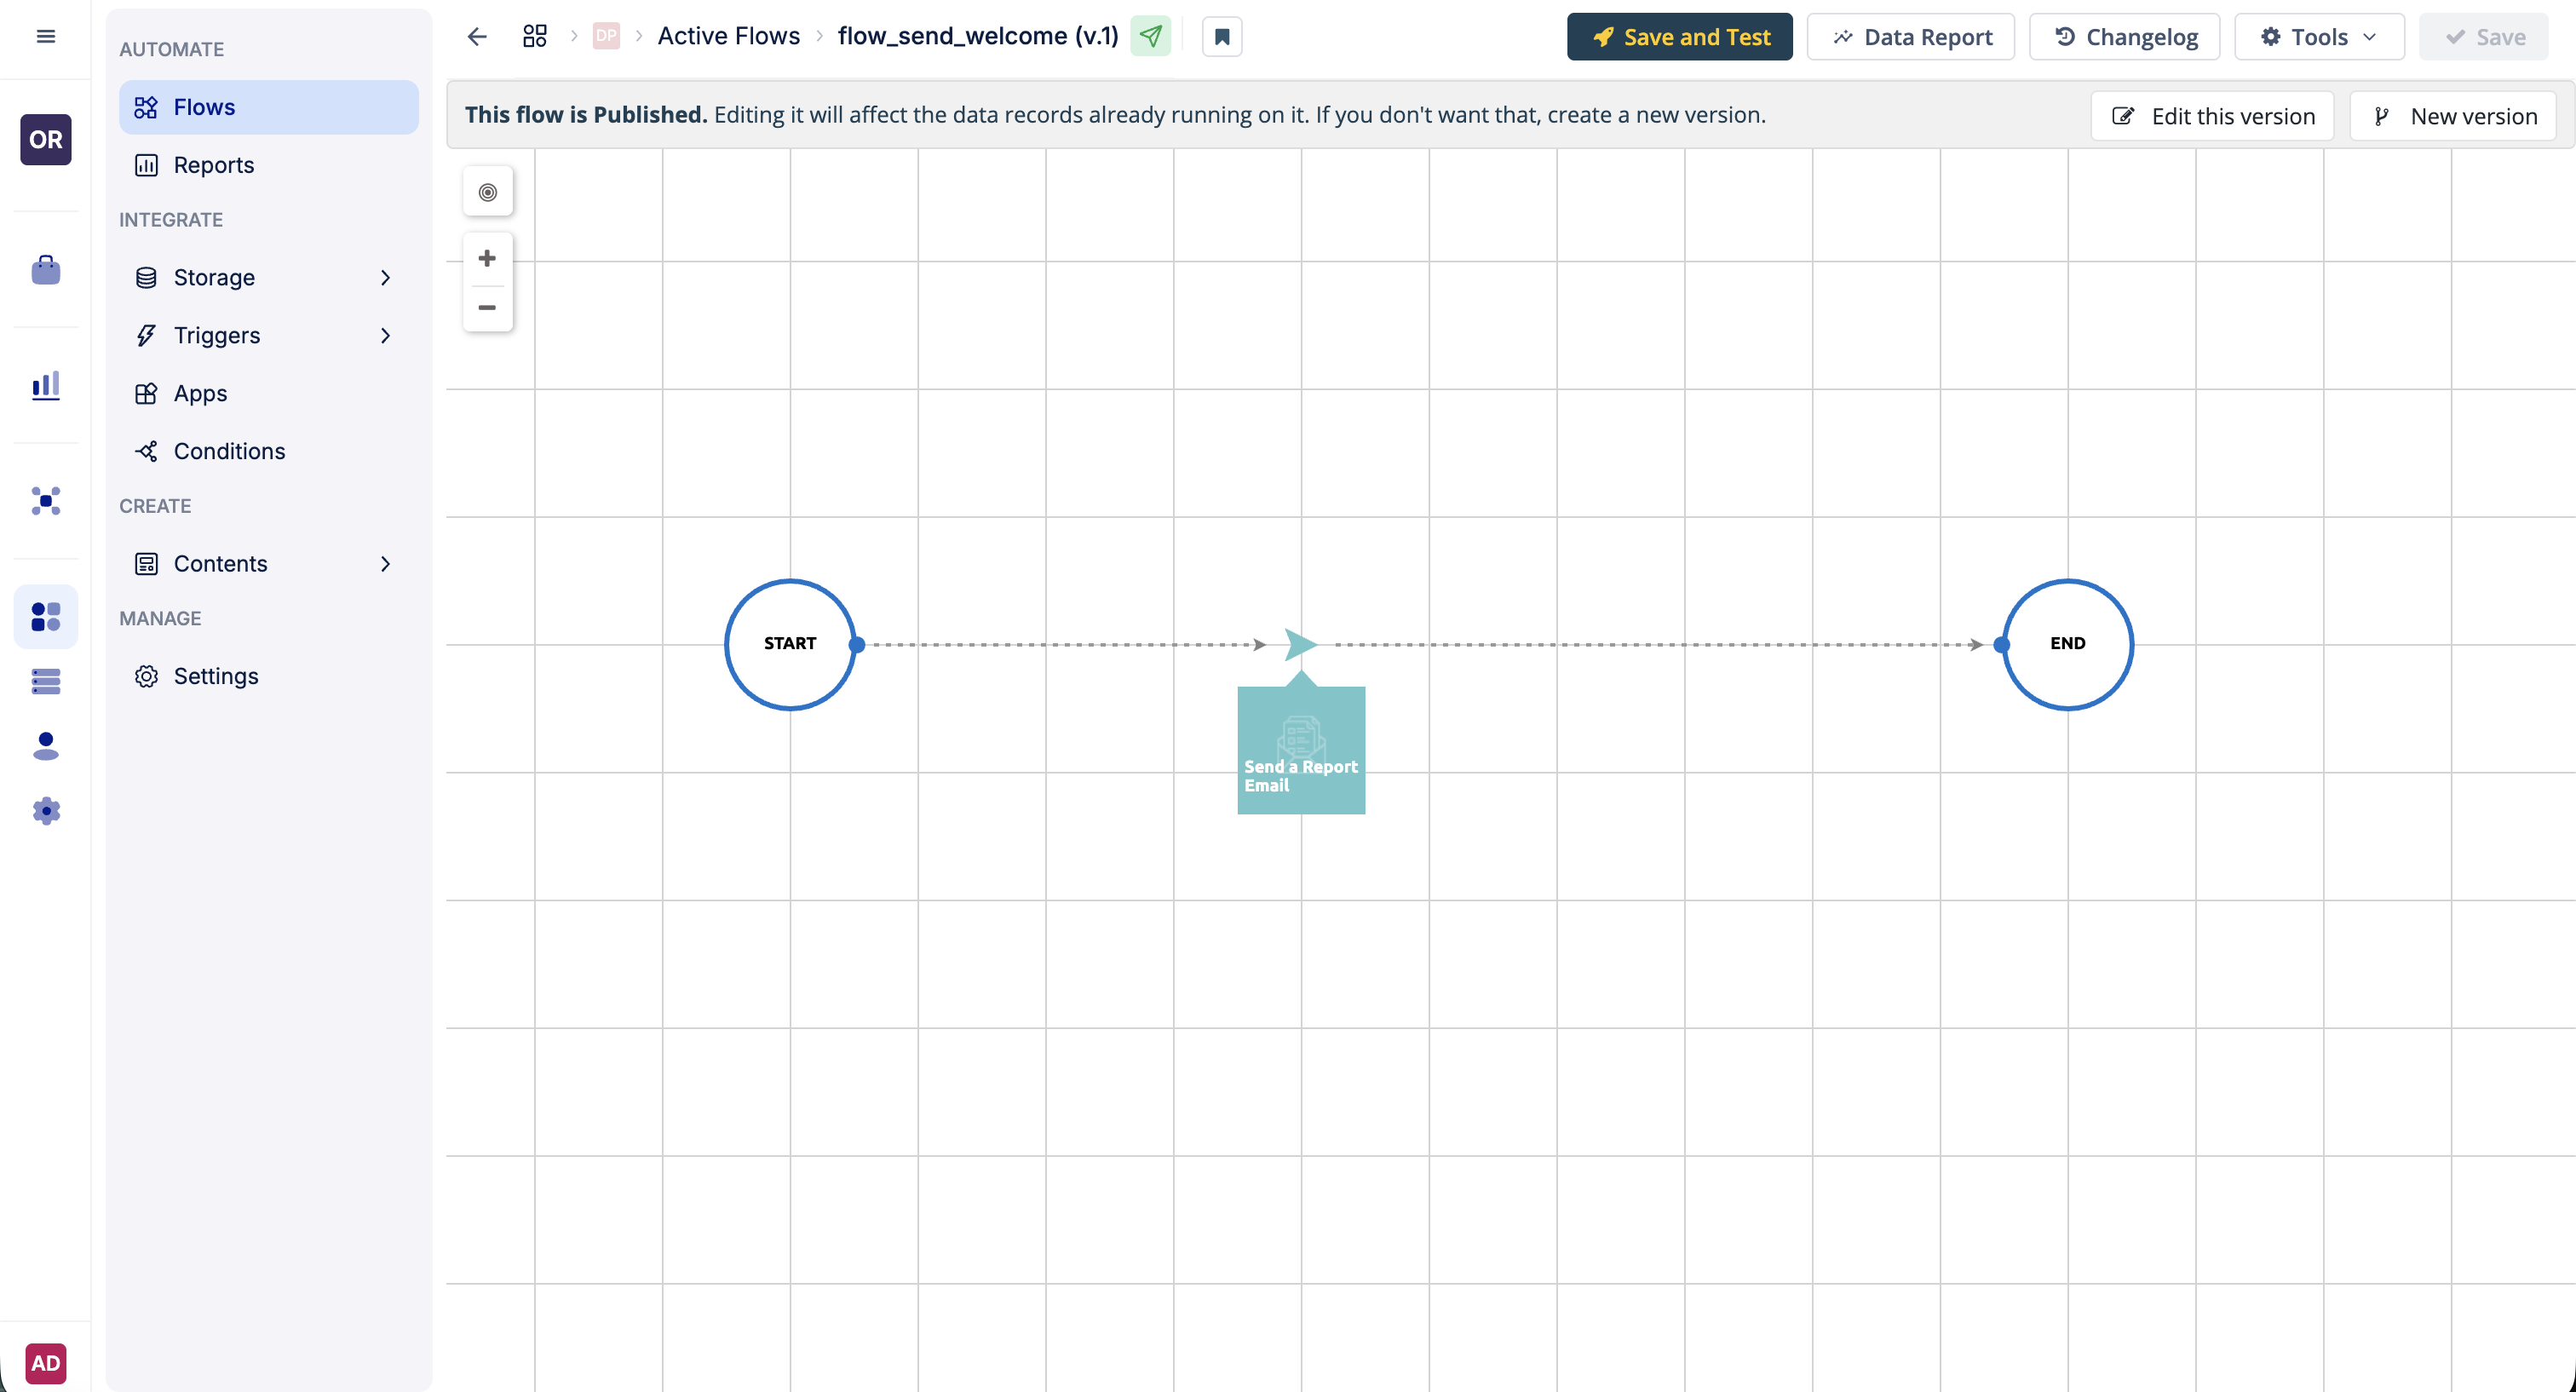
Your flow should now look like this:
Start → Send a Report Email → End
At this point, the flow logic is complete.
Step 6: Save the flow
Click Save to save the flow. The full-flow test described below also saves it; testing an individual App does not.
A common mistake is forgetting to connect an object or saving the flow before completing the configuration.
See Test an individual App for instructions on testing a single step.
Test the flow
Before publishing, test the flow using sample data.
-
Click Save and Test.
-
Use the following payload:
{"name": "Jane Doe",} -
Click Run Test, this also saves the flow.
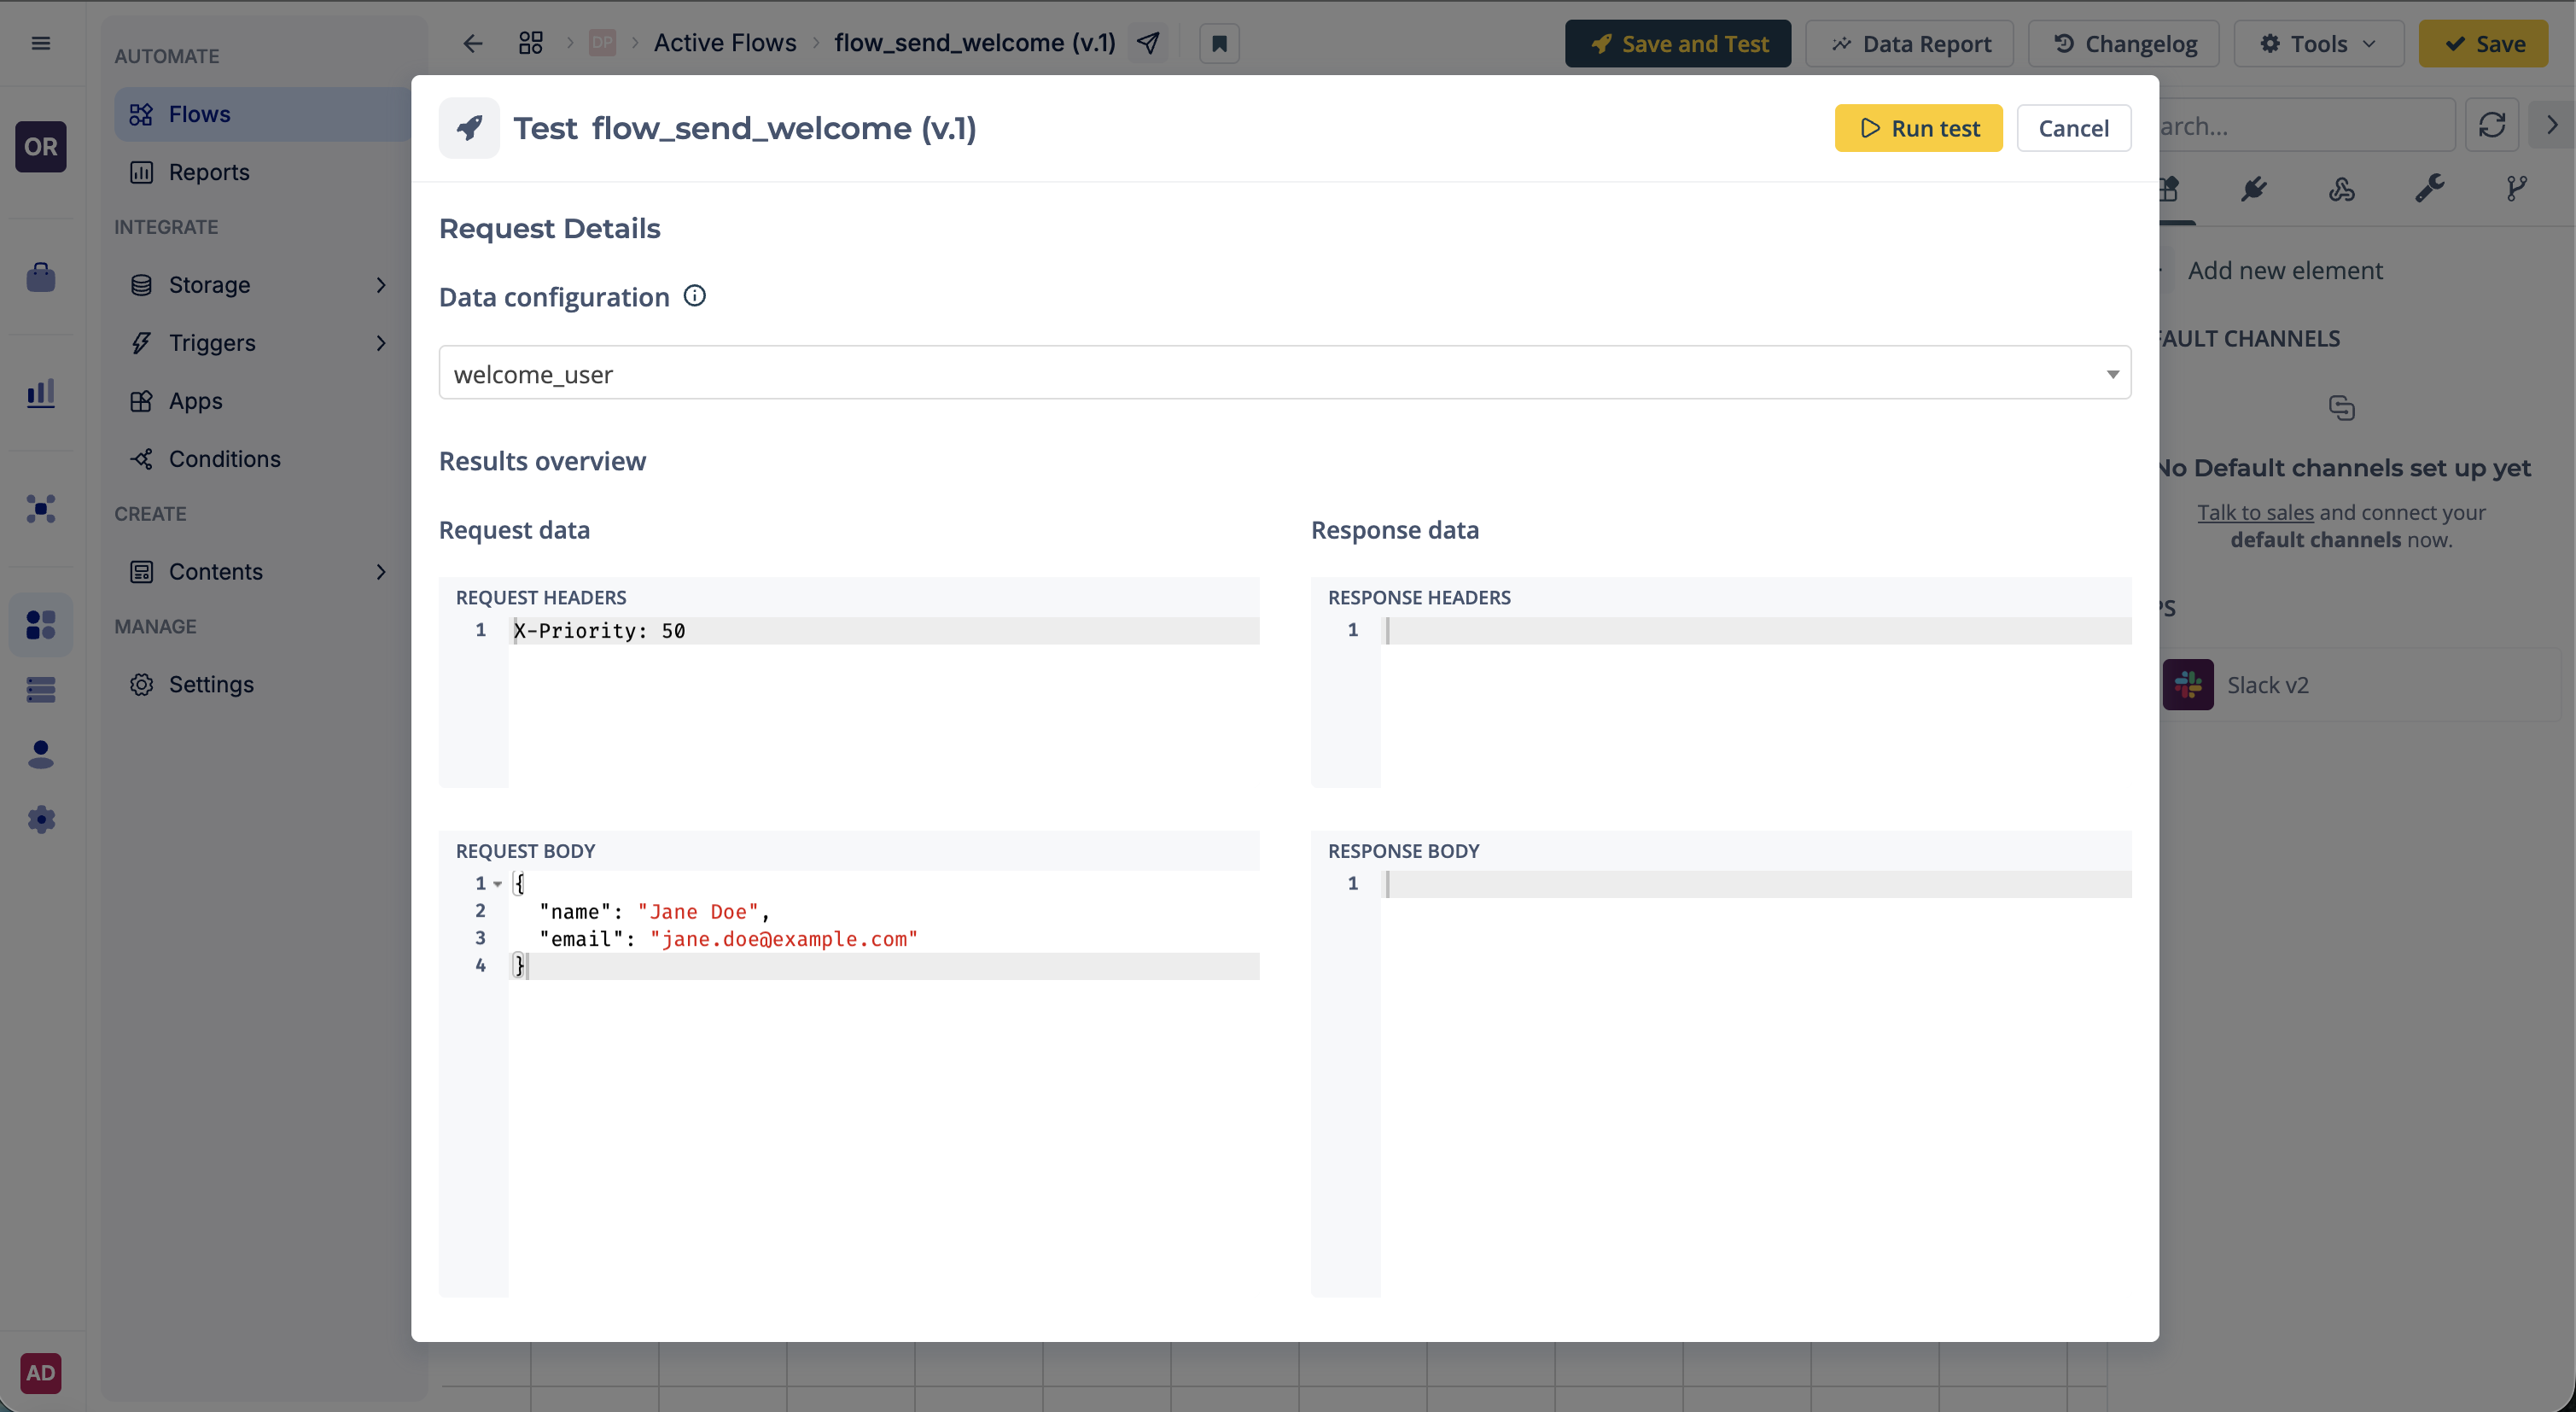
If everything is configured correctly, the test completes successfully.
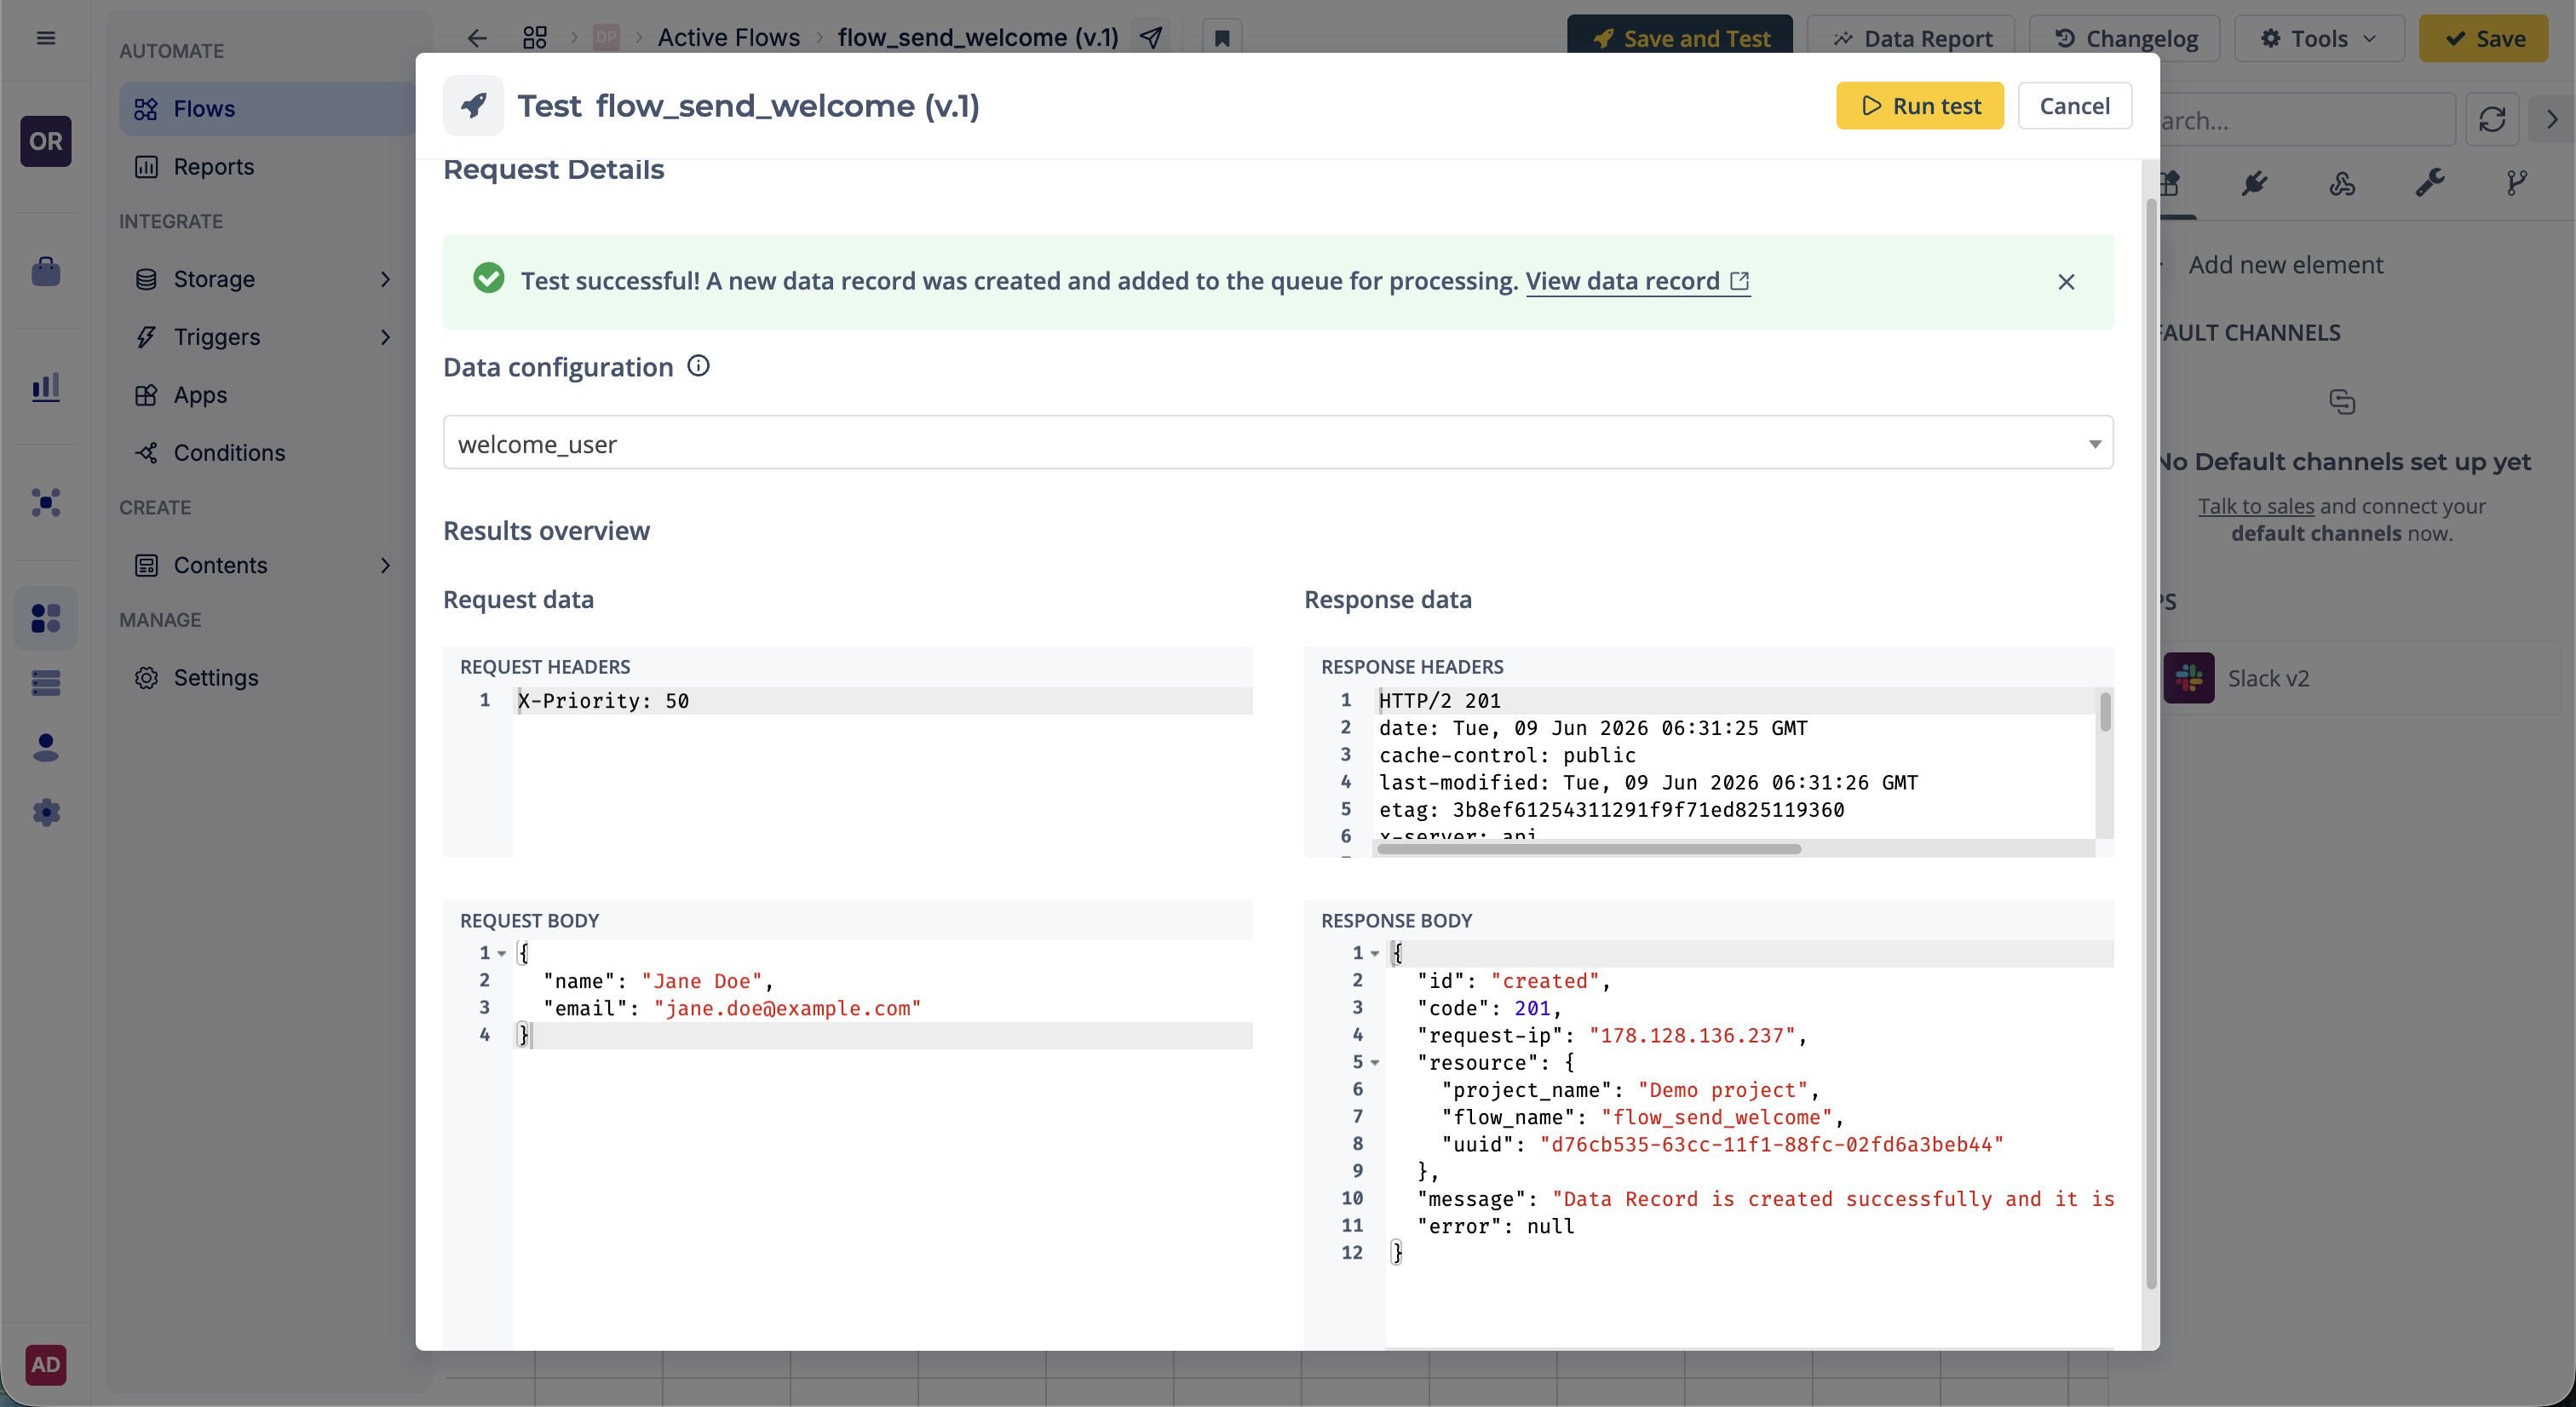
Review the execution results and confirm that:
- The email action executed successfully.
- A data record was created, you can check it by clicking on View data record. To learn more about data records, visit the Data records article.
Common test issues
If the test fails, check the following:
- The payload does not match the expected structure.
- A variable path is incorrect.
- Some objects in the flow are not configured correctly.
Step 8: Publish the flow
Once testing is successful, publish the flow.
Click Save and in the dialog click Save and publish. Or return to the flow overview table:
- Open the Actions menu.
- Click Publish.
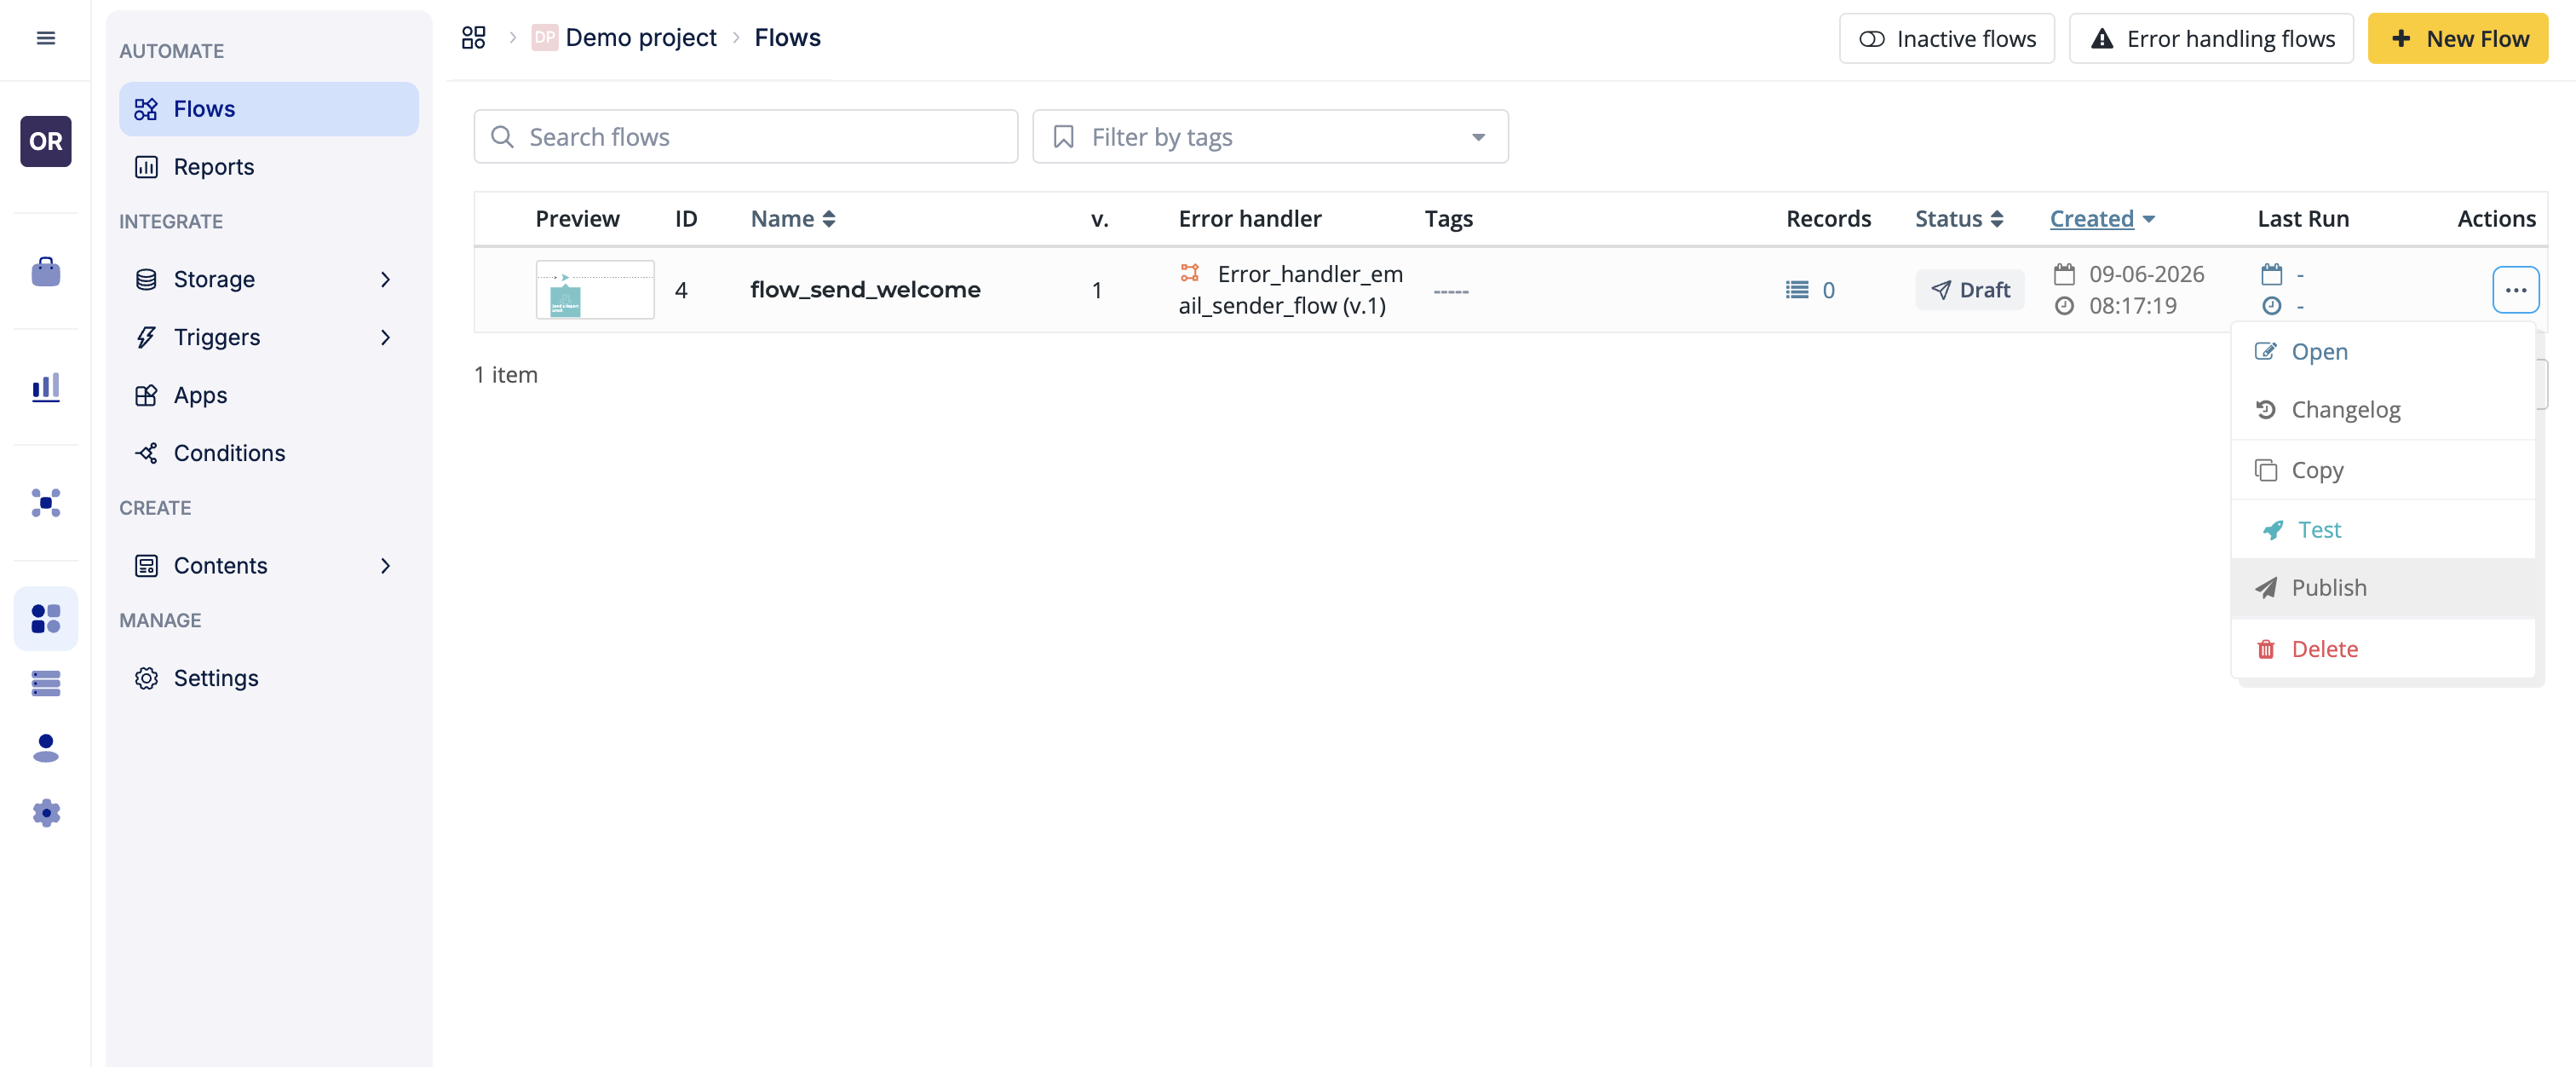
After publishing, the flow is ready to process real data.
Understanding flow statuses
Flows can have different statuses:
| Status | Description |
|---|---|
| Draft | The flow can be edited and tested. |
| Ready | The flow is active and can process records. |
| Paused | Processing is temporarily stopped. |
| Inactive | The flow no longer accepts new records. |
If you need to make structural changes to a published flow, create a new version first.
Quick checklist
Use this checklist whenever you create a new flow:
- Define the data structure.
- Create the interface.
- Create the flow.
- Add and configure the required actions.
- Connect all objects.
- Save the flow.
- Test with sample data.
- Publish.
Next steps
You now have a working flow that receives customer information and sends a welcome email.
From here, you can expand your flow by:
- Storing data in a table.
- Calling external APIs.
- Generating documents.
- Adding decisions and branching logic.
- Triggering other flows.
Explore the available apps and objects to automate more complex business processes.
Was this article helpful?