Webhooks
A webhook is a user-defined HTTP callback that is triggered when a particular event occurs at the source site. When the event occurs, the source site makes an HTTP request to the URL specified. In simple words, a webhook lets your server “talk” to our system and notify it with events happening in your system.
They are usually triggered by some events, such as “user has logged in my system”, “user has clicked in a link”, “an email was sent successfully”, “an email has bounced”... So, in our system, you have to create Webhooks URLs that will listen to the different events that your server or other APIs can send. When that event is received, it can trigger to resume a flow that was stopped, listening for those events.
How it works ?
Ok, let’s imagine that you have a process set up like in the image below at your company.
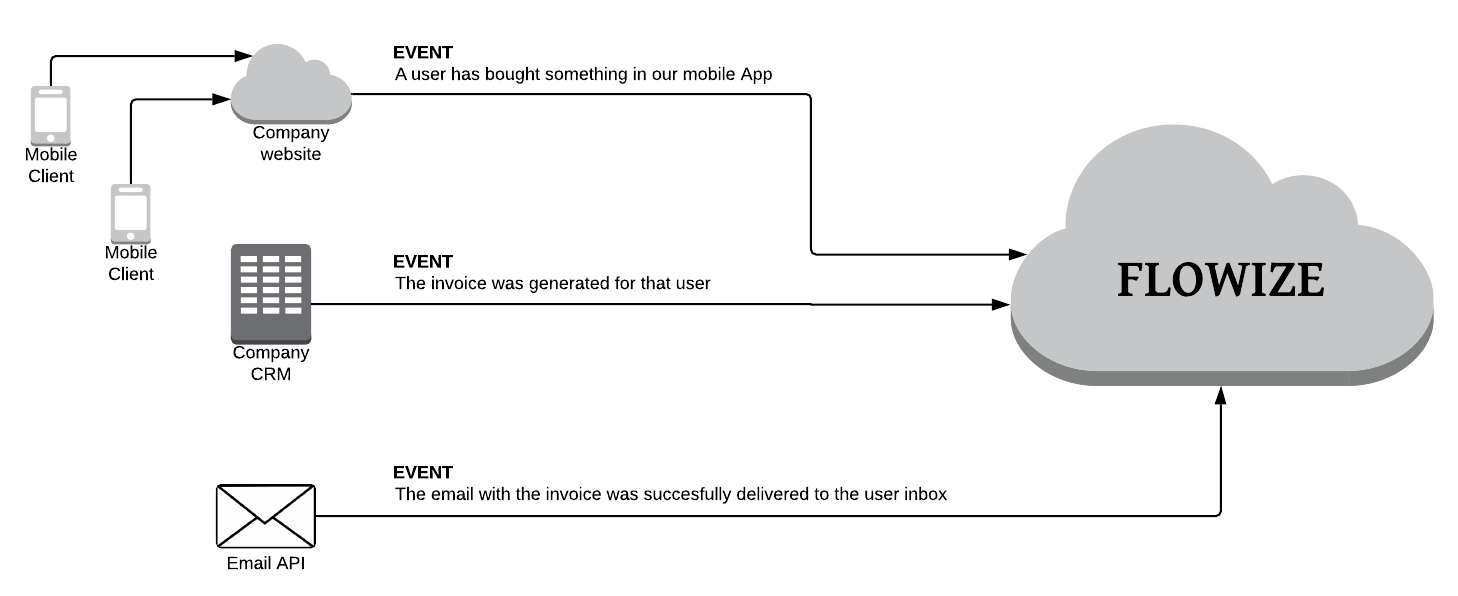
Your company owns a mobile app, called “I love to buy” where users can register and buy stuff and, every time users buy something, events are generated depending in the actions they belong to.
| Step | Action | Event |
|---|---|---|
| 1 | A user buys something in the App and sends that information to a web server | The web server sends a JSON message with the ID of the user and the information of the Product that was bought |
| 2 | Every day, your Financial department checks which users have purchased something in the App and an invoice is generated in their CRM system. | The company CRM sends an XML message with the ID of the user and the Invoice information |
| 3 | After generating the invoice, an email is sent to the user with the invoice attached through an Email API, for example, Mailgun | Mailgun service sends a JSON message with the ID of the message and its status |
These three Actions are generating three Events that will be received by three different Webhooks URLs that we will have to set up in the platform. The first two of them, Event1 and Event2, are configured in the same way, using the Custom App and Event3 will be configured using “Mailgun App”.
In our platform, there are two different kinds of webhooks, the ones that belong to the Custom App or the ones that belong to a specific plugin (this kind of webhooks are usually preconfigured in the app).
How to create a Webhook
To create a new webhook, go to the Triggers section in the Project top menu and then click on the option Webhooks, once in the Webhook overview you need to click on “New Webhook” button. As we said before, the webhooks that belong to the Marketplace App are automatically configured.
Webhooks in the flow
You can activate different types of listeners for a webhook depending on the options you choose in the webhook flow object:
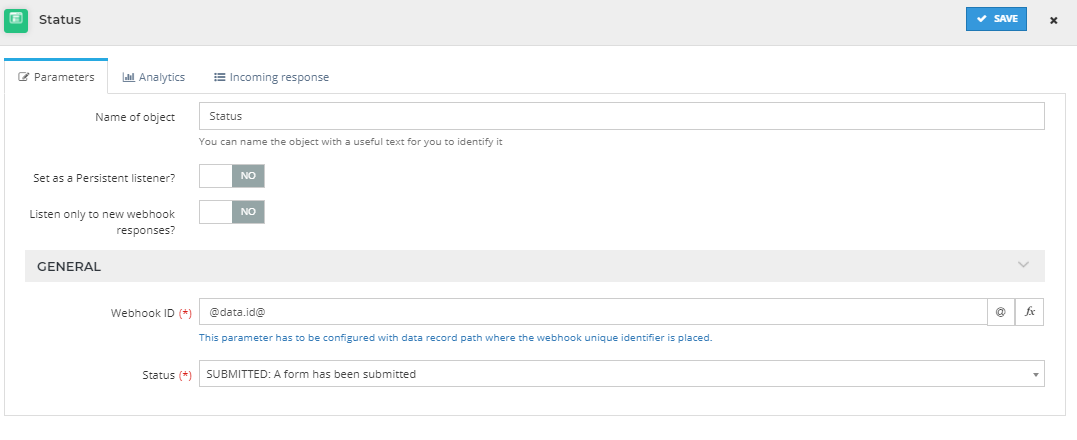
Here is a summary of the important terms to understand the rest of the entry:
Response – A certain call we receive to our webhook URL which will be logged in the database, usually containing an ID and STATUS.
Listener – The ID and STATUS pair regarding one data record we are going to wait for, until we have a match with a certain response we receive. This is what we set up in the flows.
These are the types of listeners that we have and their differences:
| Capabilites | Normal Listener | Persistant Listener | ||
|---|---|---|---|---|
| All responses | Only new response | All responses | Only new responses | |
| One response should trigger several listeners across different data records | 🟢 Yes | 🟢 Yes | 🟢 Yes | 🟢 Yes |
| A certain response get consumed when it triggers a listener | 🔴 No | 🟢 Yes | 🟢 Yes | 🟢 Yes |
| Use responses with a date older than the creation of the listener | 🟢 Yes | 🔴 No | 🟢 Yes | 🔴 No |
| The listener is removed after one response is found | 🟢 Yes | 🟢 Yes | 🔴 No | 🔴 No |
So having the following design with the different webhooks the result will be different:
Normal listener + All responses
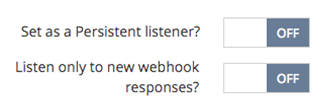
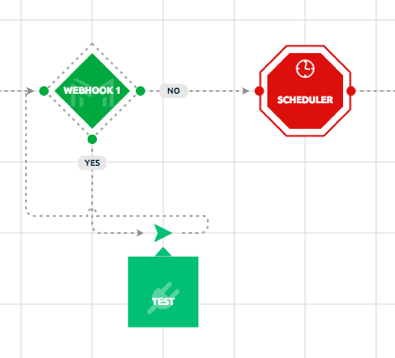
This design is wrong, the flow will enter in an infinite loop and it will stop.
With this type of webhook, once we receive a match of ID and STATUS, if we reactivate the listener it will take that same response and reactivate the flow, causing this design to enter in an infinite loop and stopping after a couple of executions.
Normal listener + Only new responses
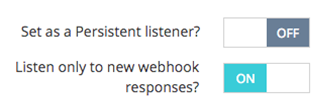
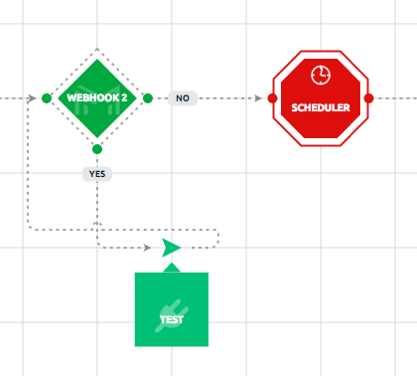
This design is fine, the flow will put a new listener and wait for a new match.
In this case the flow will use a response only if that response comes after the listener was created, so once we have a match, the TEST function will run and we will create another listener that will be triggered only with a new response with the given ID and STATUS.
Persistent listener + All responses
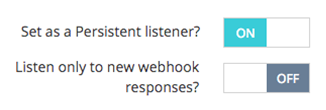
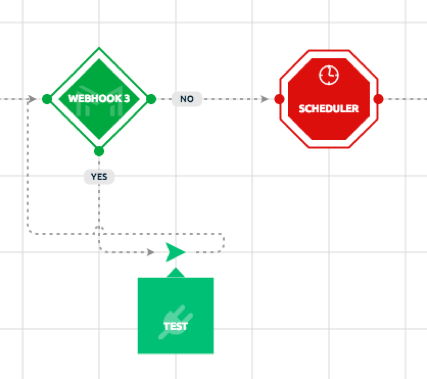
This design is unnecessary, we don’t need to reactivate a persistent listener, so we can just link the TEST object to the scheduler object.
A persistent listener will use a certain response only once but it will be triggered every time we receive an ID and STATUS match. No matter in which part of the flow we are, as soon as the flow gets scheduled, if we have another response that matches it will execute the TEST app, in this case, even if the date is older than the listener creation.
Persistent listener + Only new responses
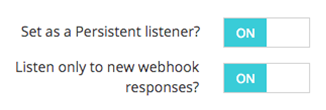
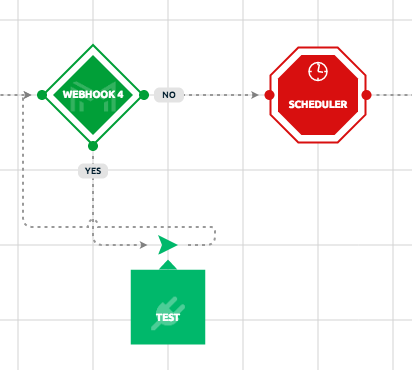
This design is again unnecessary, same reason as before.
This persistent listener will behave the same way as the previous one, but this time only with the responses we get after the listener was created.
Process it with priority?
You can activate Process it with priority option for a webhook. This listens to webhook response very fast but it uses most of your environment resources (workers/ram) and affects the overall performance of your system, so use it wisely.
To see used cases and examples, click here
If there are multiple websites running on your environment, it is not recommended to use it.